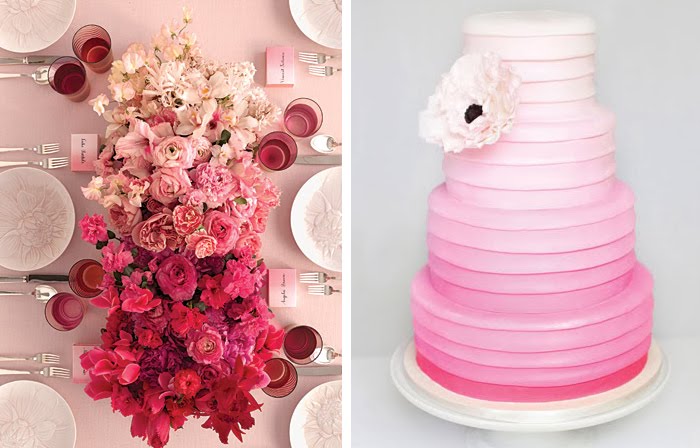
Ombre has been all the rage for awhile now and is seen every where from home decor, art, clothing, and cakes. It's really no wonder why, too. The color variations are endless and the gradation beautiful - whether your looking for a single color ombre or multiple color effect.

anthropologie

anthro


After scratching my painted stripe curtains for my living room I was left with two sets of Ikea curtains. Determined to use what I bought (no IKEA here so returning was not an option), I decided that attempting ombre curtains could be fun. Plus one of the great things about ombre is that it's not exactly patterned, but it's not a solid color either. So it's a great way to add some visual texture and interest without taking away from pattern that is already in the room.
About a year ago I saw a designer create ombre curtains with bleach on HGTV. I searched for the tutorial, but couldn't find it. All I found were tutorials involving techniques similar to tie dye. So I decided to come up with my own...based on what I remembered from the show!
To start my project I took one set of curtain panels (IKEA $14.99)

Plus one bottle of Petal Pink Liquid RIT Dye.

If you've ever looked at this little blog before then you know I am a huge fan of RIT dye! I opted for the washer method since the washing machine does all the work.
Once my curtains were dyed I re-wet them. This important! You want you curtains wet - not sopping - but more than damp. The fabric soaks up the bleach better when wet. Because it's winter I decided to do the bleaching inside using my bathtub. I took down the shower curtain and hung my newly dyed curtain over the bar.

I had already added some bleach (sorry - I didn't measure!) to water in the tub. You can see that you want enough water to easily soak the curtain. I lowered the curtain into the water/bleach mixture until the part that I wanted to be the lightest was fully submerged. The I let it soak, periodically checking the progress.

This was so easy! The down side: because I was doing two panels, but only had room for one panel on the bar I had to do one at a time which resulted in an uneven ombre effect. One way to avoid this would be to do the project outside an a clothes line using buckets to soak the water. This way you can have the panels side by side and make sure they are evenly lowered and submerged. You would definitely want to measure out your bleach doing this making sure you had equal amounts in each bucket of water.

So I had to re-bleach one panel by soaking the area that needed to be lightened up. One you are done bleaching rinse the curtain in the shower getting as much bleach out as possible. It is VERY important that you don't let the bleached area touch the other parts of your curtain, otherwise you'll have bleach drips and smears. Here is my finished product:

This picture doesn't do it justice (I never seem to be able to get good lighting inside my house and the colors are always a little off!). The panels turned out better than I hoped! And I love that with the bleach method you don't have lines between the gradients of color.
I'm almost done with what I set out to accomplish in my girls' room this month! I'm just waiting on some fabric to arrive in the mail and for the weather to warm up this weekend so I can finish painting.
Happy Wednesday!


